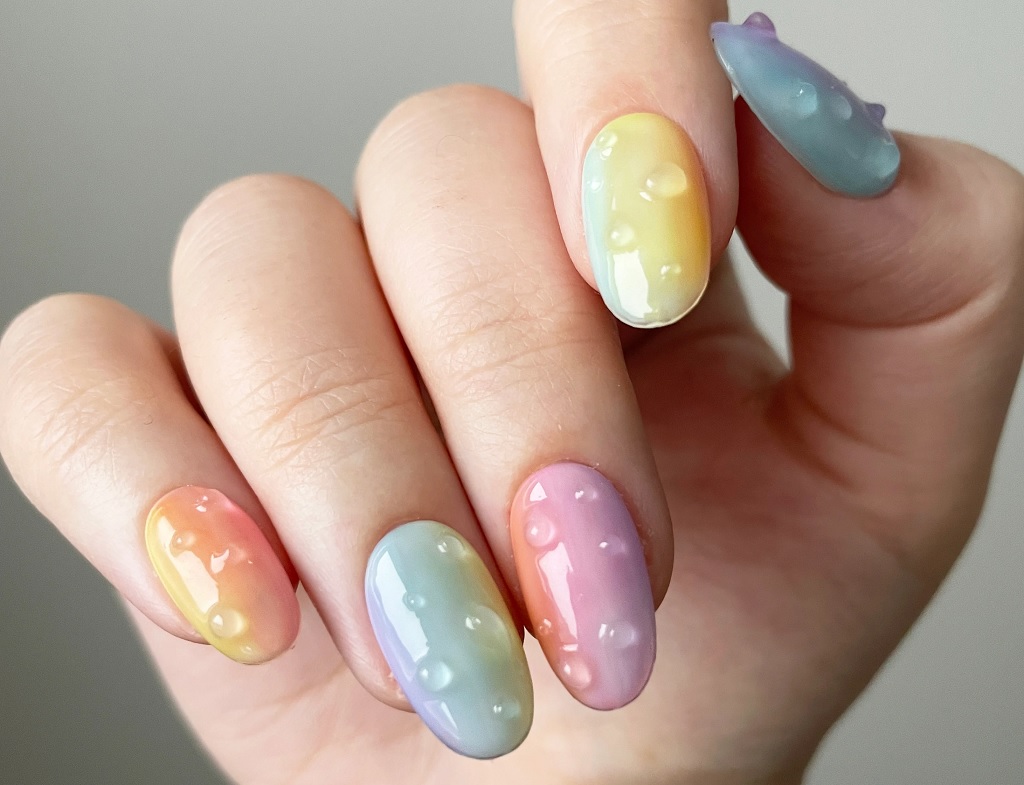
Nail art has become an immensely popular form of self-expression, allowing individuals to showcase their creativity and style. One trendy and visually appealing nail design is the raindrop nail. Mimicking the beauty of raindrops cascading down a windowpane, this design adds an elegant touch to your nails. The best part is that you can easily achieve this look at home with a few simple steps. In this article, we will guide you through the process of creating a perfect raindrop nail design in the comfort of your own home.
Materials You’ll Need
- Base coat
- Nail polish colors
- White nail polish
- Clear top coat
- Thin nail art brush or toothpick
- Acetone or nail polish remover (for cleanup)
- Cotton swabs or Q-tips (for cleanup)
Step-by-Step Guide
Prep and Prime
Start by preparing your nails for the manicure. Remove any existing nail polish and shape your nails to your desired length and style. Gently push back your cuticles and use a buffer to smoothen the surface of your nails. Apply a base coat to protect your nails and ensure a long-lasting finish.
Base Color
Once the base coat is dry, apply a light blue nail polish to all your nails or any of your favorite colors. This color will serve as the backdrop for the raindrop design. Apply two coats for an opaque finish, allowing each coat to dry completely before proceeding to the next step.
Suggest some backdrop colors for raindrop nails
For raindrop nails, you’ll want to choose backdrop colors that mimic the look and feel of raindrops. Here are some suggestions:
Sky Blue: A light, pastel blue reminiscent of clear skies will create a refreshing backdrop for raindrop nails.
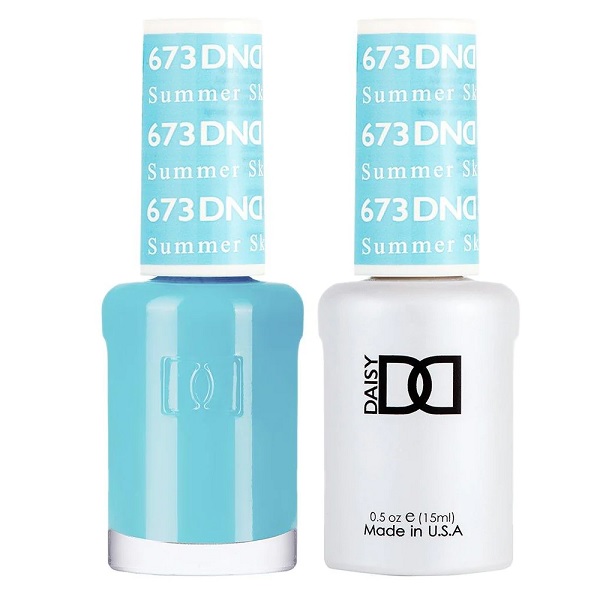
Gray: A soft, muted gray shade can give the nails a cloudy and rainy ambiance.
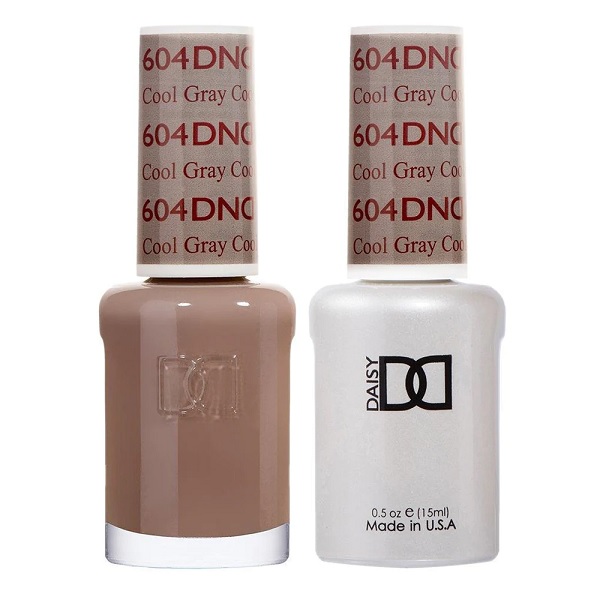
Clear or Nude: Opting for a clear or nude base color will allow the raindrop accents to stand out, giving a subtle and elegant look.
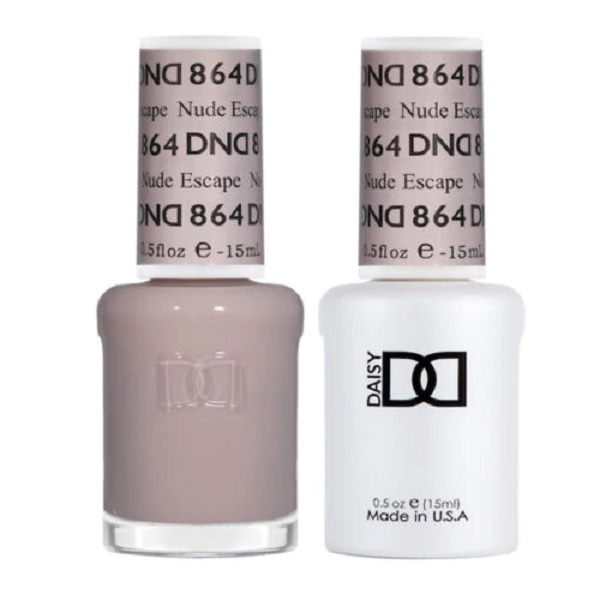
Lavender: A cool-toned lavender shade can capture the dreamy and calming essence of raindrops falling on a misty day.
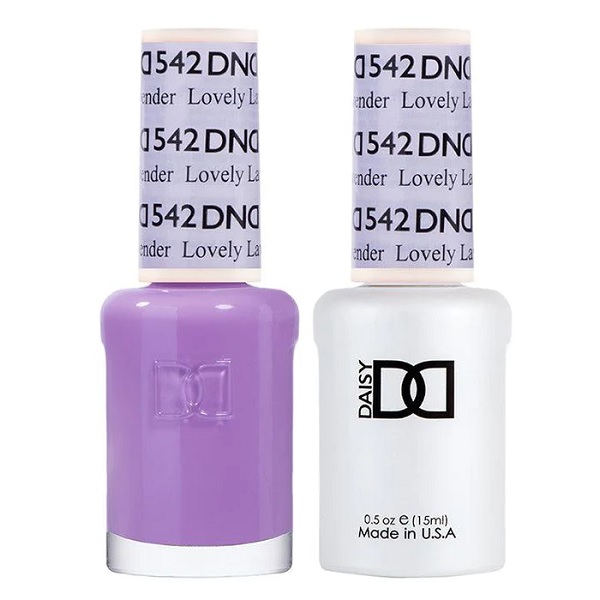
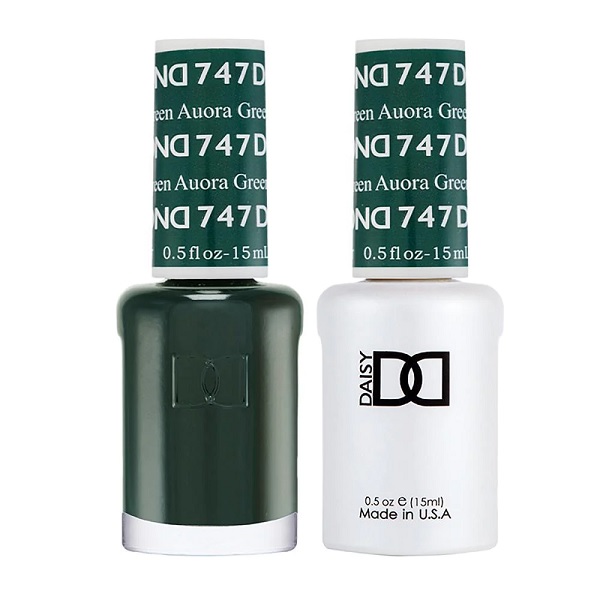
Green: For a vibrant and nature-inspired look, a green color can symbolize raindrops falling in a lush forest.
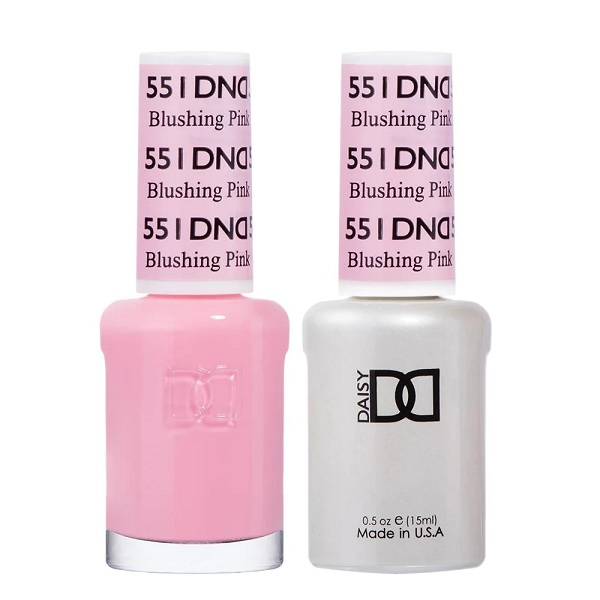
Pastel Pink: If you want to infuse your raindrop nails with a dose of femininity and sweetness, a pastel pink backdrop is an excellent option. The softness of this color creates a delicate and romantic atmosphere, allowing the raindrop accents to shimmer and shine.
Raindrop Design
Now it’s time to create the raindrop design. Take your thin nail art brush or toothpick and dip it into the white nail polish. Begin by creating a small teardrop shape near the base of your nail. Repeat this step across each nail, spacing the raindrops evenly. Aim for a varied pattern rather than perfect uniformity to mimic the organic nature of raindrops.
Perfecting the Raindrops
To achieve the characteristic look of raindrops, gently pull the brush or toothpick from the base of the teardrop shape towards the tip of the nail. This will create a tapering effect, mimicking the natural flow of water droplets. Repeat this step for each raindrop on all your nails.
Clean Up
After completing the raindrop design, clean up any mistakes or excess polish using a thin brush dipped in acetone or nail polish remover. Alternatively, you can use cotton swabs or Q-tips for precision. Be careful not to smear the design while cleaning around the edges.
Seal and Protect
Once you are satisfied with the raindrop design and the cleanup is complete, allow your nails to dry completely. Apply a clear top coat to seal and protect the design, as well as add shine to your manicure. The top coat will also help to ensure that your raindrop nail design lasts longer without chipping.
Conclusion
Creating a perfect raindrop nail design at home is an excellent way to add a touch of elegance and creativity to your manicure. By following these simple steps, you can achieve a professional-looking raindrop design that mimics the beauty of raindrops sliding down a windowpane. Remember to practice patience and precision while creating the design, and enjoy the process of expressing your personal style through your nails.